There is no shortage of AI avatars right now. New tools keep appearing, the demos look impressive, and almost every platform promises more realism, better voices, and smoother interactions. But once you move past the surface, there is an important distinction to understand: an AI avatar is built to deliver a script, while others are built to actually hold a conversation.
That second category is where things get a lot more interesting.
In this guide, we will walk through how to create and configure a real-time AI avatar using LiveAvatar. More specifically, we will look at how to set up the avatar’s context, pull in knowledge from a website, define a persona, choose voice and language settings, test the experience, and prepare it for embedding into a site or application.
For teams working in product education, customer enablement, onboarding, or AI-first learning, this kind of setup opens the door to a much more interactive experience than a traditional talking-head avatar.
Before you dive into this particular platform, you can also check our general “How to Build Product Knowledge Training That Works in 2026” as a starter.
Why Real-Time AI Avatars Are Different
A lot of avatar tools still follow a familiar model: you pick a presenter, type in a script, generate the video, and publish it. That format is still useful, especially for explainers, updates, and repeatable content. But it is still one-way communication. The below example is from HeyGen.

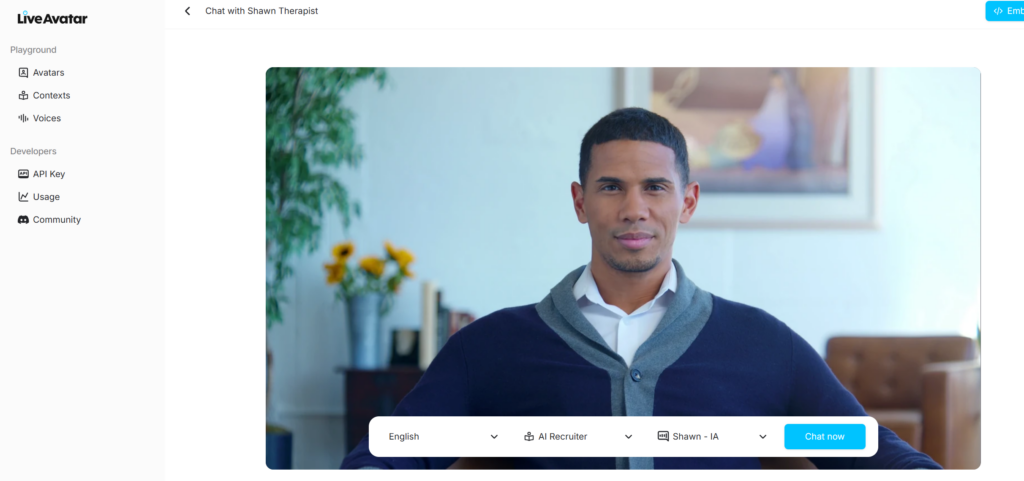
Real-time avatars work differently. Instead of just presenting information, they respond to user input. That means the experience starts to feel less like watching content and more like interacting with a digital guide, coach, trainer, or support agent. This example below if from LiveAvatar.
That shift matters. If you are building learning or support experiences, the value is not only in how realistic the avatar looks. It is in whether the avatar can respond well, stay on topic, and guide the user through a useful interaction.
Step 1: Open LiveAvatar and Review the Dashboard
Once you log in, you will land on the LiveAvatar dashboard. Here you can see the available avatars, including preset options and custom avatars, depending on your account setup.
This is also where you start to see how the platform is structured. The avatar itself is only one layer. Underneath it, you are really building a combination of visual identity, context, instructions, and conversation logic.
Step 2: Understand the Role of Context
Before choosing the avatar, it helps to understand what actually makes the interaction useful. In LiveAvatar, that begins with Contexts.
The context is where you define what the avatar should know, how it should introduce itself, and how it should behave in conversation. In other words, this is where the experience becomes more than just a face and a voice.
Go to the Contexts area and create a new context.
Step 3: Add an Opening Intro and Core Instructions
Inside the dialog setup, you can define the opening introduction and the main instruction layer for the avatar. Think of this almost like the system prompt behind the experience.
This is where you can clarify things like:
- Who the avatar is
- What it is meant to help with
- What tone it should use
- What kinds of questions it should answer
- What kinds of questions it should avoid
The more clearly you define this, the better the avatar tends to perform in live interactions.
Step 4: Pull in Knowledge from a Website URL
One of the more useful parts of this workflow is the ability to add knowledge through a URL. Instead of manually copying large amounts of source material into the prompt, you can point the platform to a webpage and let it interpret the content.
Once the URL is added, LiveAvatar crawls the page and produces a summary of the information it finds. That gives you a faster way to ground the avatar in product information, service pages, documentation, knowledge hubs, or other reference material.
If you are building an avatar for product training or customer support, this step can save a surprising amount of setup time.
Step 5: Review the Generated Knowledge Carefully
Once the page has been processed, review how LiveAvatar interpreted the source. This step is important.
Just because the platform can summarize a webpage does not mean you should skip review. Look at the structure, the emphasis, and the overall accuracy of what was extracted. If needed, refine the instructions or add more context so the avatar does not drift or over-generalize.
In practice, this is often where a decent avatar becomes a much stronger one.
Step 6: Complete the Full Prompt
One of the easiest mistakes to make with conversational AI is leaving the instructions too open. A real-time avatar usually works better when it has clear boundaries.
For example, you may want to instruct it to:
- Stay focused on a specific topic or product
- Avoid answering outside its approved scope
- Offer short, direct responses before expanding
- Redirect users when the question requires a human follow-up
- Use examples only when they support clarity
These guardrails make the experience feel more intentional and more trustworthy.
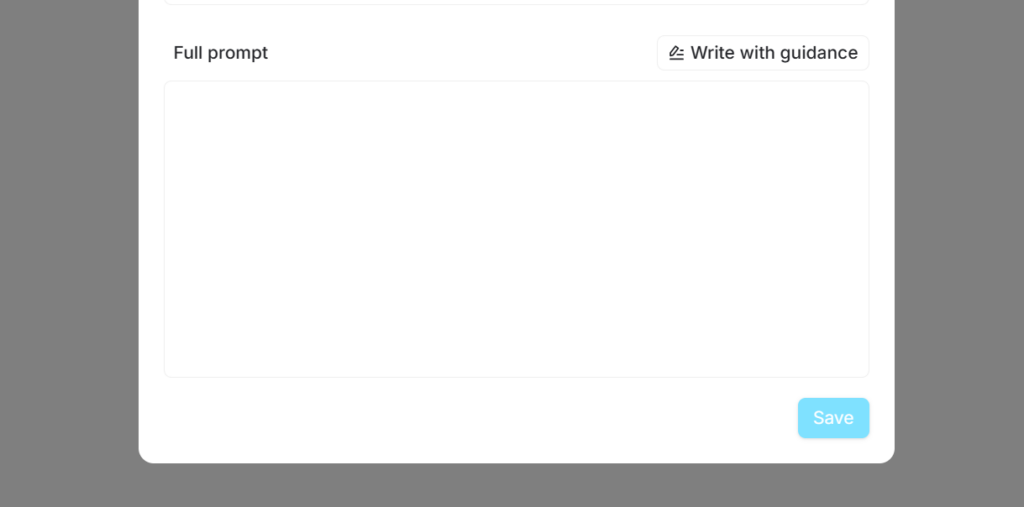
Step 7: Write with Guidance
LiveAvatar also includes guided options to help you generate persona and instruction content. That can be a useful shortcut, especially when you want a strong first draft before refining the final prompt yourself.
Step 8: Save the Context and Assign It to an Avatar
Once the context is ready, save it and move into the avatar setup. At this point, you can select the avatar you want to use and connect it to the context you just created.
This is the stage where the parts start coming together:
- The avatar provides the visual layer
- The context provides the knowledge layer
- The persona and instructions shape the interaction
Step 9: Choose the Voice and Language
After the avatar is selected, choose the voice and language settings. This may sound like a small detail, but it has a big effect on the final experience.
A strong setup is not just about realism. It is about fit. The voice, tone, and persona should feel aligned with the job the avatar is there to do. A product coach, onboarding assistant, or training guide should not sound random or mismatched.

Step 10: Test the Avatar in Chat Mode
Once the setup is complete, launch the avatar and click Chat Now. The platform will start connecting the experience so you can test it live.
This is where you want to pressure-test the result. Ask real questions. Try common user prompts. Push slightly outside the intended scope. Pay attention to whether the avatar:
- Answers accurately
- Stays aligned with the persona
- Uses the right tone
- Handles boundaries well
- Feels useful rather than just impressive
That last point matters more than people think. A visually polished avatar is easy to demo. A genuinely useful avatar is what actually earns a place in a real product or learning experience.
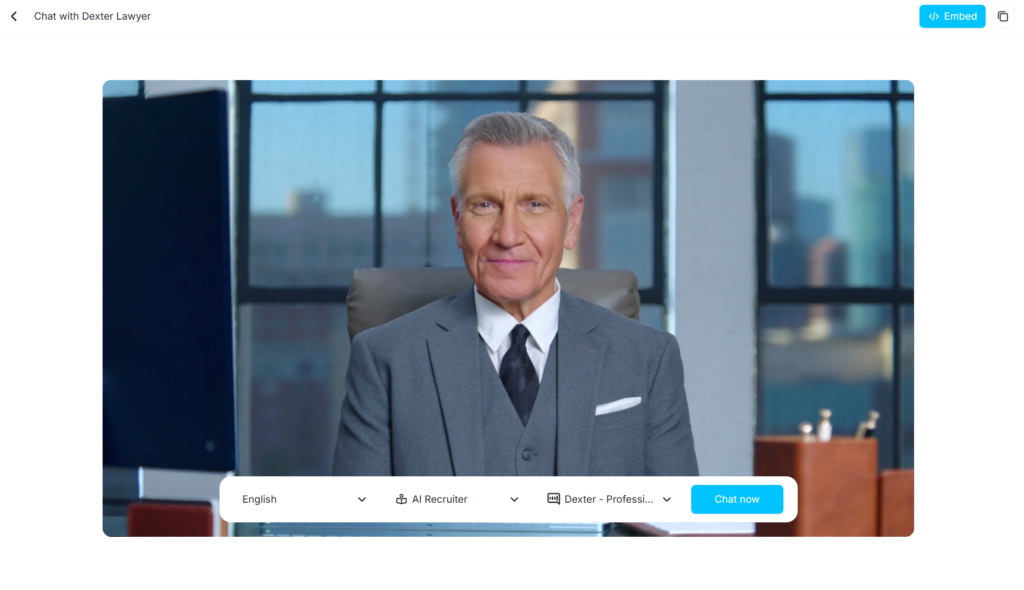
Step 11: Use the Embed Option
Once you are happy with the setup, you can use the embed option to place the avatar somewhere else. LiveAvatar provides HTML embed code that can be copied into another site or application.
That makes it possible to bring the experience into a landing page, knowledge portal, onboarding flow, training environment, or product experience.
WordPress Embed Placeholder for an AI Avatar
If you are placing the avatar into WordPress, the easiest option is typically a Custom HTML block. Until your final code is ready, you can use a simple placeholder like this:
<!-- Replace this block with your LiveAvatar embed code -->
<div class="liveavatar-embed-placeholder">
  <p>Interactive AI avatar will appear here.</p>
</div>
What This Means for Learning and Product Teams
What makes real-time avatars interesting is not just the novelty factor. It is the interaction model.
For learning teams, this can support more immersive training, simulated roleplay, guided practice, and contextual support. For product teams, it can create a more human-feeling layer for onboarding, product guidance, and self-serve help.
That said, the value does not come from adding an avatar for the sake of it. The value comes from designing the interaction well. Good context, good instructions, good boundaries, and good testing usually matter more than the visual layer alone.
Best Practices Before You Publish an AI Avatar
- Keep the knowledge focused: Use the most relevant pages and sources, not everything you have.
- Write instructions clearly: Be specific about role, scope, and tone.
- Review generated knowledge: Do not assume the imported summary is perfect.
- Test edge cases: See how the avatar handles ambiguity, off-topic prompts, and unclear requests.
- Match voice to use case: The right voice and language settings make the avatar feel intentional.
- Design for usefulness: The goal is not just to look advanced. It is to help people get somewhere faster.
Final Thoughts
Creating a real-time AI avatar with LiveAvatar is not really about building a digital presenter. It is about designing an interactive experience.
When the persona is clear, the context is grounded, and the instructions are well-defined, the avatar becomes far more than a visual layer. It becomes a practical interface for conversation, support, and learning.
And that is where this starts to become genuinely useful.
Frequently asked questions (FAQ)
What is the difference between a scripted AI avatar and a real-time avatar?
A scripted avatar delivers prewritten content, while a real-time avatar responds dynamically to user input during a live interaction.
Can LiveAvatar use website content as a knowledge source?
Yes. In this workflow, you can add a URL and let the platform crawl the page and generate a summary that supports the avatar’s context.
What should I test before publishing an AI avatar?
Test for accuracy, tone, scope control, persona consistency, voice fit, and how the avatar handles questions that fall outside its intended purpose.